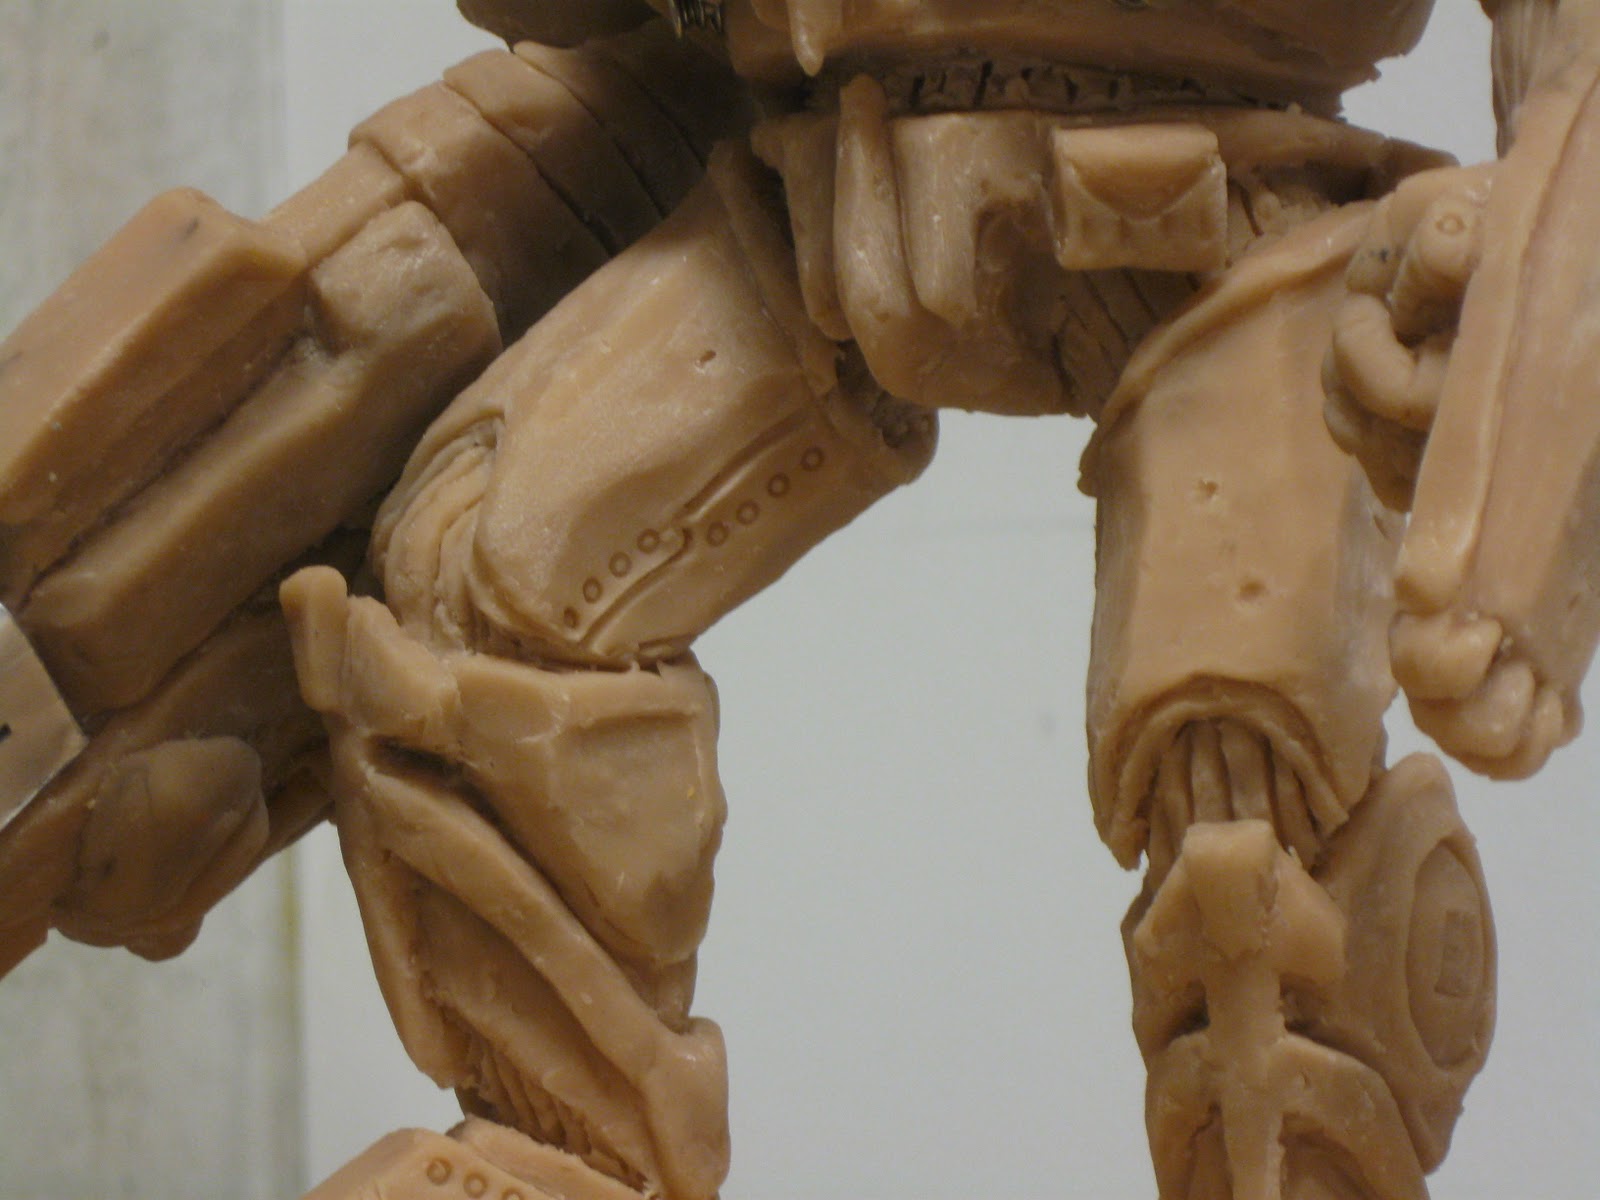
This is a huge leap ahead in my sculpt, parts of the legs and torso actually look close to finished.
I still need to get the gun attached and finish the arms but once I got detailing I couldn't stop...

I cut away a lot of the excess sculpey from the base partly because I needed some more and so that I could have a complimentary shape on the ground instead of just an entirely covered platform. I will paint the sculpey grey and maybe paint the base black just for some contrast. It will be easier to remove the black part of the base in Photoshop when I go to paint it digitally, leaving me with a nice little platform for my guy to stand on.

I like this picture without the flash more because it gives the sculpt a few more shadows, the other one is more to highlight the details I'm working on.

I had a lot of fun with the back but some of the details got covered up by the cape, which I am still not 100% on. I think I will fix it up and bake it anyways but it will be flimsy enough to remove if I really don't like it.

Other than the arms, everything just needs a touch up before I bake it. After that I should be able to sand anything thats a little rough and triple check everything before I paint.
I found a small screw that I shoved into the visor where I originally had just a round peice of sculpey, I want it to seem like a HUD of some kind and I think the screw will work out in the end better than if I were trying to get detail on a little chunk of sculpey. Hopefully I don't ever realize I needed that screw for something...
I found the little red plastic tube that goes on the end of WD40 cans or compressed air cans and used it to make rivets which I love. As soon as I added some of these in key places the whole sculpt took on a whole new level of realism, I might try to fit them in somewhere else on the armour but I also don't want to over do it.
 Over the break I'm going to be painting him digitally and possibly painting the actual sculpt as well, which scares me a bit even though I can just paint over it if it didn't turn out well
 After I painted I noticed some cracks on the base which actually help with the feel of broken ground beneath him, but there are also a couple cracks that will need to be patched with apoxy or more sculpy.